My Craft Background:
I absolutely LOVE DIY projects; I want to be so crafty in my later years, where I actually have time to do the crafty things: they can take A LOT of time! Despite the absence of craft time on my hands, and thanks to Pinterest, I can still choose my favorite crafting projects and just save them for later. They’re all safely stored on my pin board, waiting for the day when I have the time/room to do them all.
Every once in a while, I start itching to do something crafty, usually around the holidays – there are such cute craft ideas for every holiday, I can’t resist – and I’ll turn our tiny living room into craft central, with all my supplies and bin strewn about, tables moved and no room to walk. Then about a week later, I’m exhausted from all the crafts I attempted to tackle in a week, and I grow tired of seeing a craft room instead of a living room, so it all goes back to the storage closet, awaiting my next craft itch.
Tilted Garden Bird Bath:
I know I just told you how I have no time/room to craft on a constant basis, but I’m so addicted, I keep looking for more projects and pinning them for later. And even if I don’t have the time or space, or in this case a backyard, to do my crafts, I still want to share them with you! This is so easy and doesn’t seem like it would take too much time…
As I was going through, happily Pinning on my boards, I came across this beautiful DIY project and I just HAD to tell everyone about it! And it’s perfect timing because Spring is here and in full bloom, so it’s the perfect time to get outside and do some gardening! And as soon as I own a home with a fantastic backyard, gardening is going to be one of my favorite things to do. I dream of the day when I’ll have a garden with gorgeous flowers and some great homegrown veggies! So if YOU have a garden, you can do this project for me! 🙂
Supplies:
- 1 8” terracotta pot for base
- 4 6” pots
- 1 4’ pot
- 62in piece of rebar (if you can’t find the perfect size, the store will normally cut a larger one down to size for you – if not, purchase a hacksaw $5 and cut it yourself)
- *Optional* Clear Urethane Sealant
- Spray Paint Primer (you may need 2 cans)
- Spray Paint in your choice of color – something bright and fun
- Something to use as a bird bath on top – Beth used a discarded globe from a “boob light” but you can use anything you’d like. Or no bird bath at all!
- DAP Household/Aquatic Adhesive
Step 1.
If you decided to seal the pots (saving you some primer) do this first, then prime all your pots and spray paint them. Allow for dry time between each of these steps
Step 2.
Make sure your rebar is the height of all your pots stacked plus another 24 in (2ft). Using a hammer, pound the rebar into the ground at least two feet down so it will hold steady with all your pots on it.
Step 3.
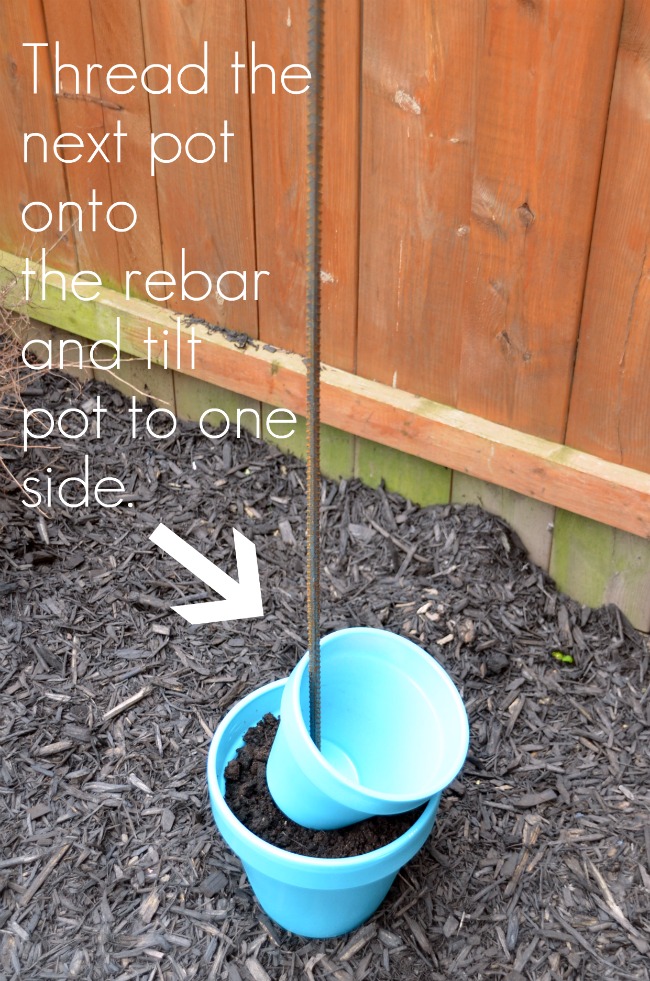
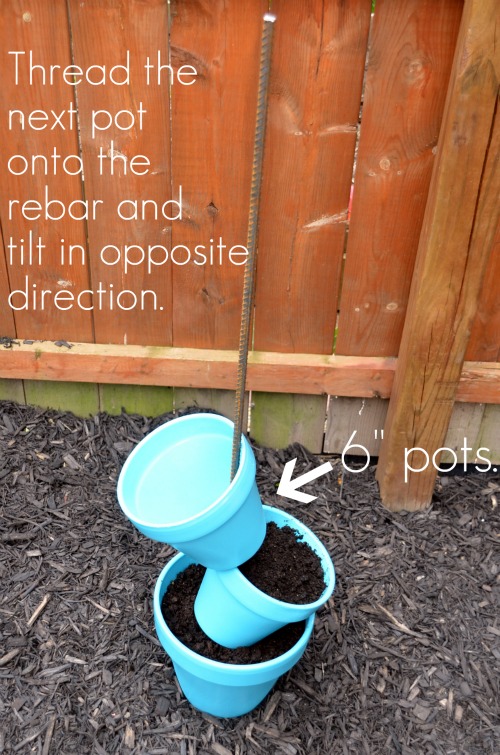
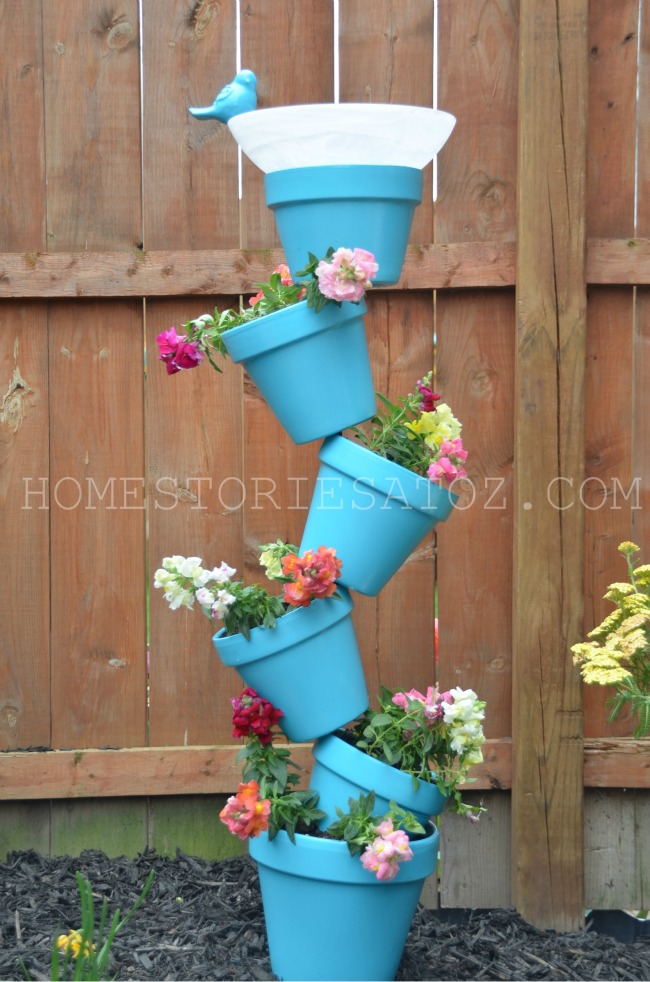
Thread your first, largest pot onto the rebar to sit level with the ground. Fill with soil and thread the next pot, onto the rebar, but tilt this one to one side. Fill with soil and continue adding pots one by one tilting opposite directions.
Step 4.
Take the final, smallest pot and set it at the top of the rebar and add the birdbath light globe, which the rebar should thread through. This should allow your top pot to set level with the ground. Apply your adhesive to the hole around the rebar and to seal the bowl to the pot. As you can see, Beth originally added a decorative bird to her bath, feel free to make any embellishments you’d like!
You can always just use the top pot as a planter instead of a birdbath, in which case you may have to pound the rebar down a bit lower into the ground so as not to see it once you have the top pot in place.
Step 5.
Plant your flowers and enjoy!
This project was found on HomeStoriesAtoZ.com. Click here to view original post with more pictures 🙂
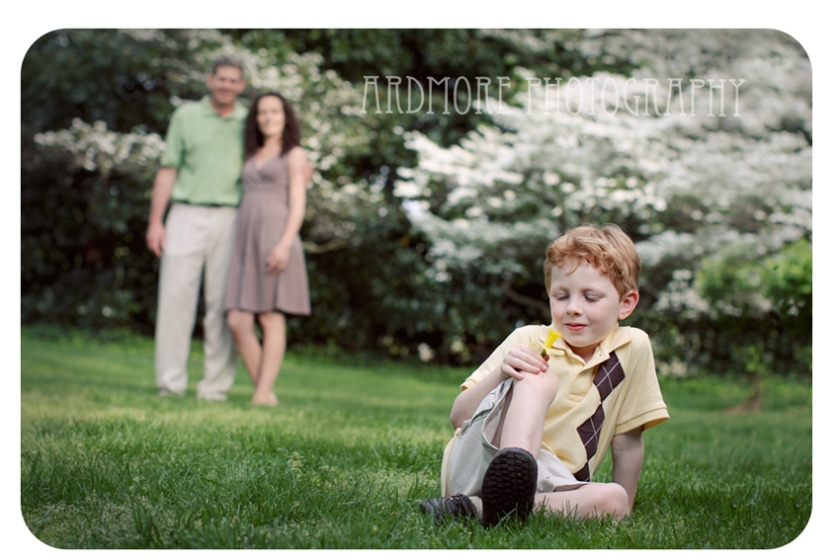
This post is bittersweet, since little “N” officially graduated from the Watch Me Grow plan. I’ll definitely miss seeing him and his parents every 3 months. Our newborn, 3, and 6 month sessions together have been such a joy. This one year session at Graylyn, was no exception. Little “N” was his usual happy self, exploring the grounds with his mom and day in the beautiful spring weather. Thank you to the “W” family for a wonderful year!
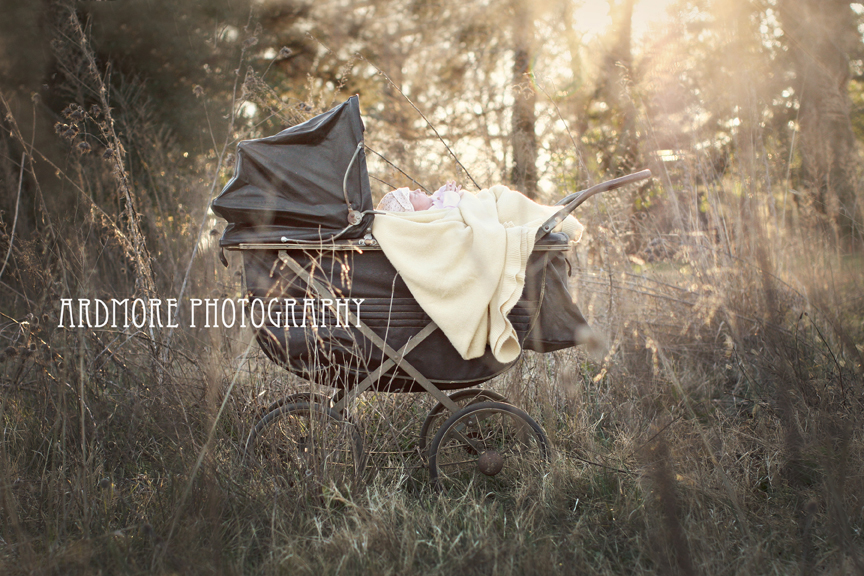
Our day in the field was absolutely beautiful and such a joy for me! The “M” family has been great friends of ours for years and I was honored to be a part of welcoming their third daughter, little “K”, into the world. Not only was this occasion about welcoming another little one into their beautiful family, but also a birthday celebration for their oldest, Miss “M”, who has just turned 6. They grow up so fast! To make this session really standout, their mother found this gorgeous antique pram stroller at an estate sale for me. It adds such a lovely heirloom quality to the images, I can’t wait to use it again!
The girls had a great time with their new little sister and were so fun to photograph. Photography to me is always about capturing those precious moments for a family to have forever and we really accomplished that with this wonderful family! I’m so grateful to have the “M”s in our lives and I look forward to photographing their family for years to come!

